 |
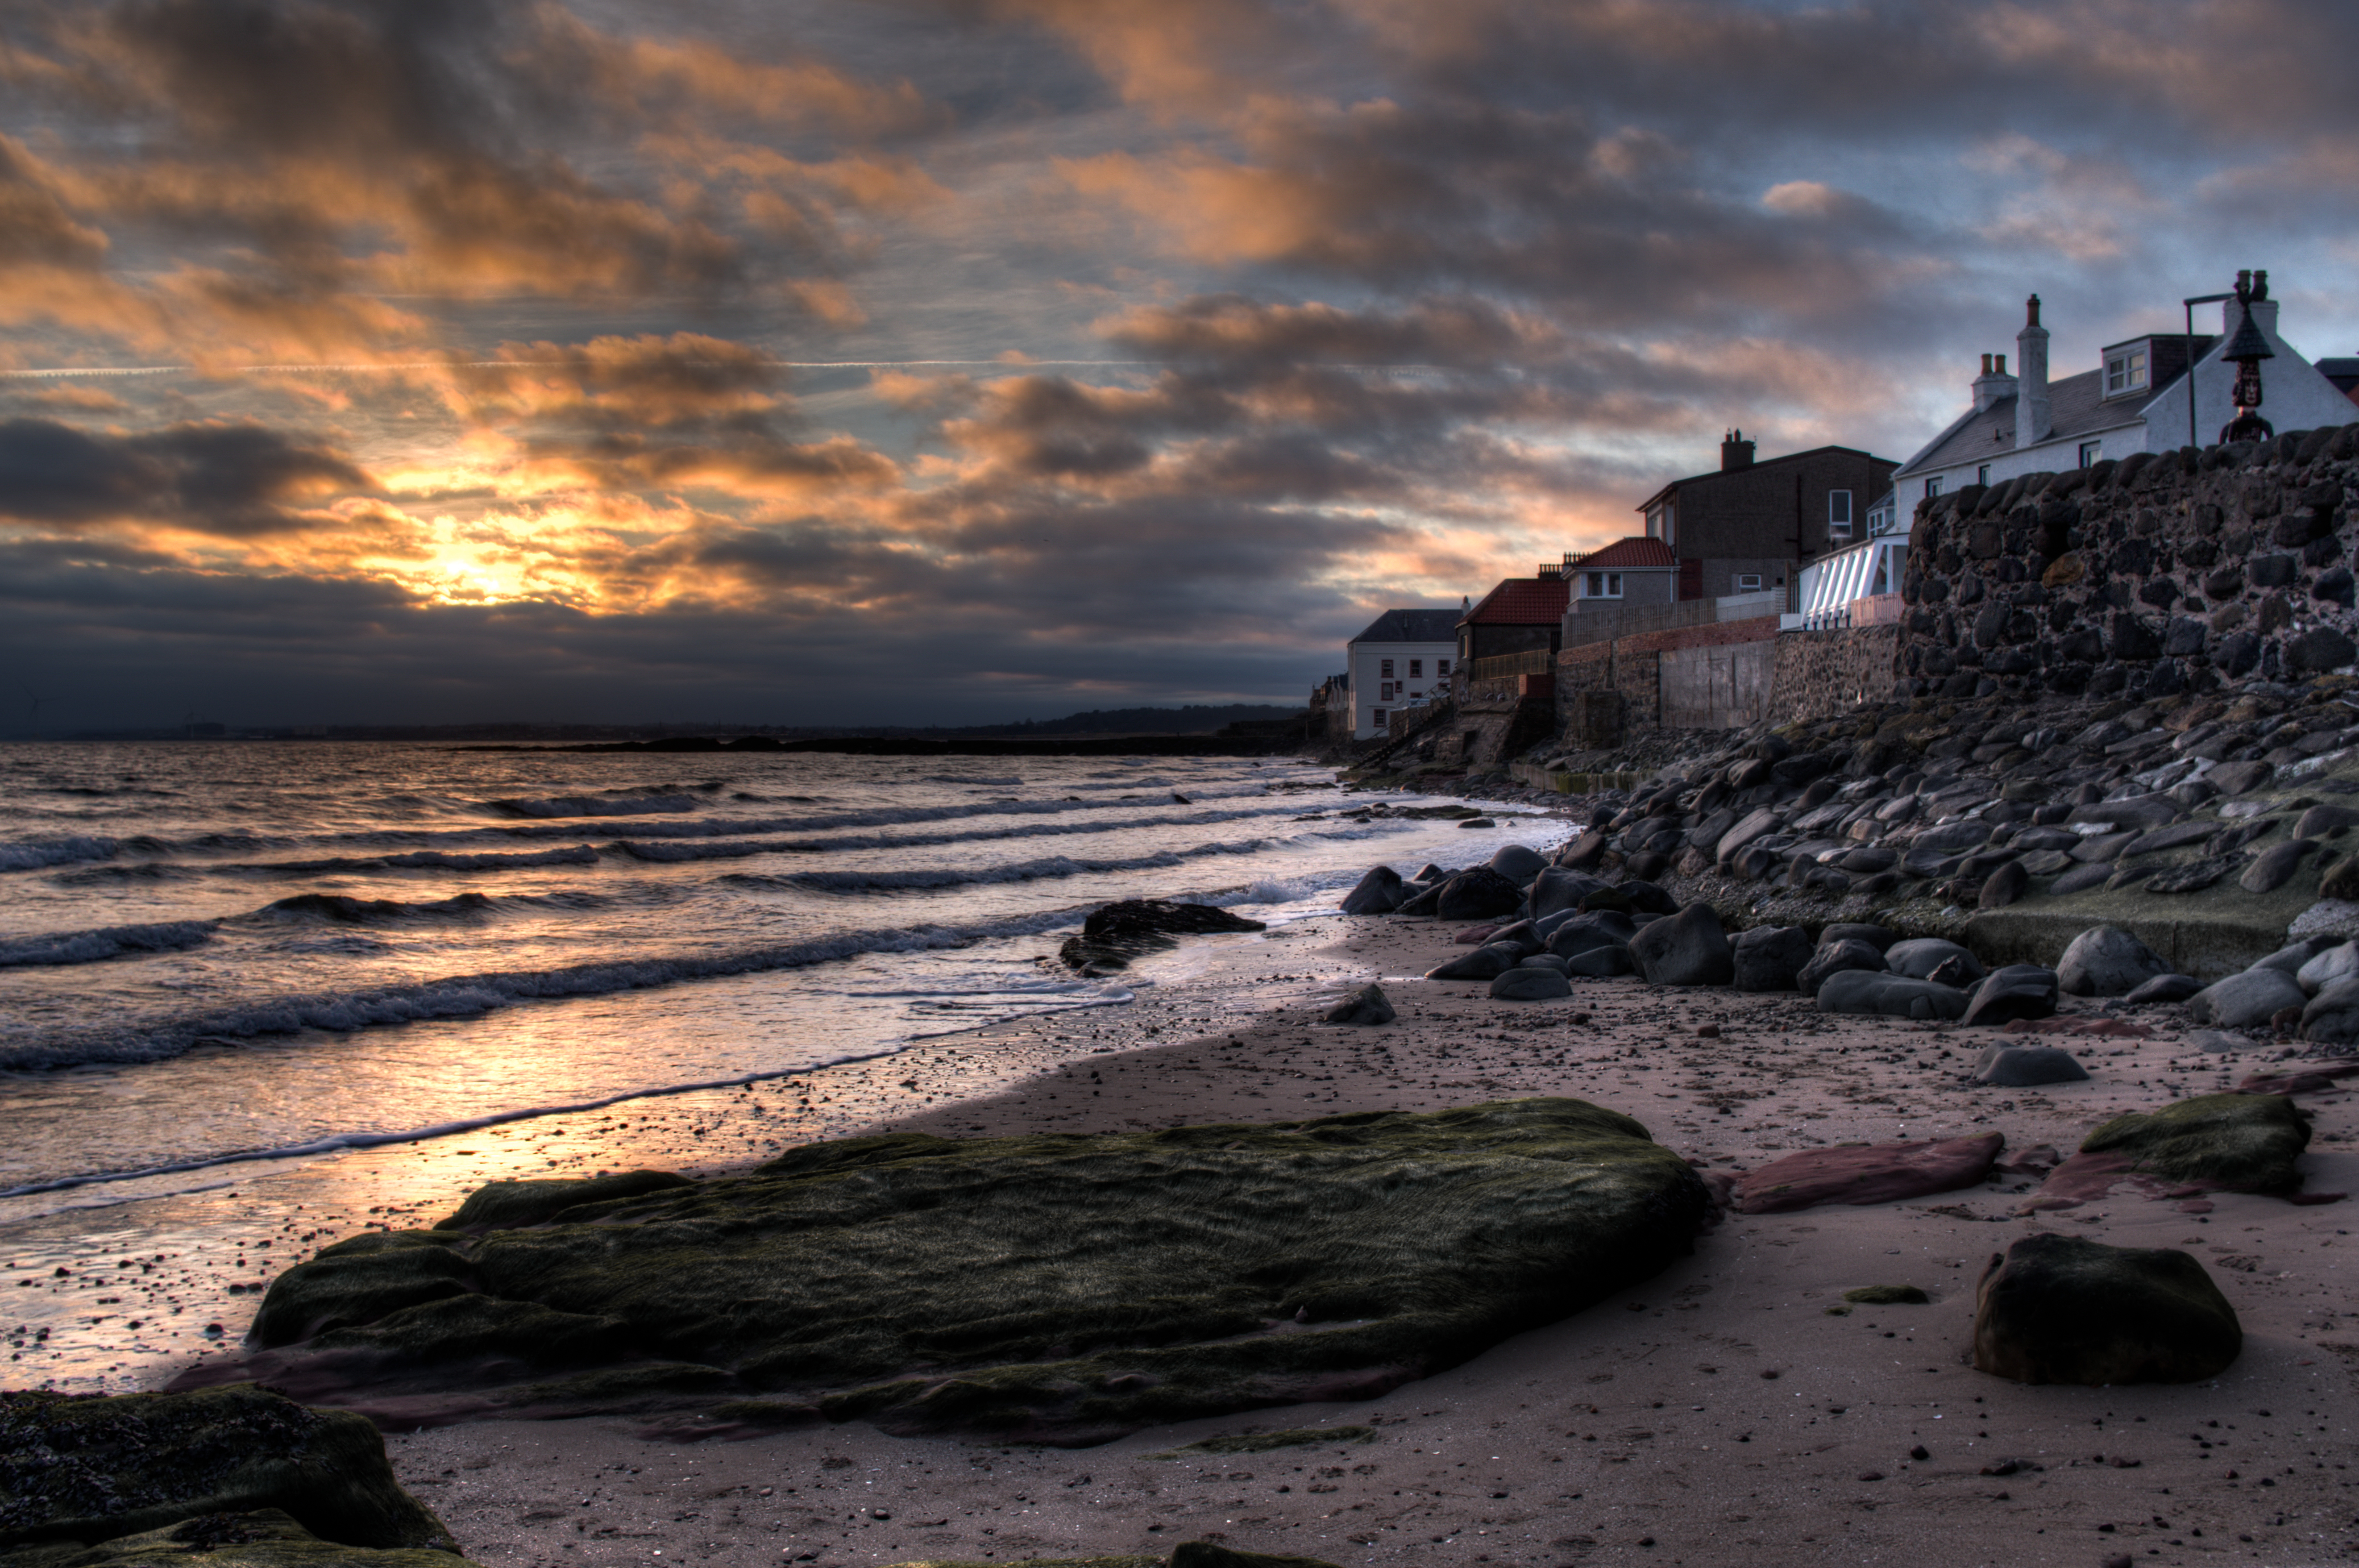
| An HDR capture from the beach at Lower largo in Fife |
Introduction
HDR is an increasingly popular photographic technique. With the evolution of cameras and dedicated HDR software many more people are trying it out. I have mentioned it previously in other posts and posted a few photos but now I will try and give a more detailed explanation of what it actually is.
n.b. HDR photography can be quite complex and I am certainly no expert but in this post I will give a brief overview of the technique and how to use it.
What is HDR?
HDR stands for High Dynamic Range. The dynamic range is the range of darks to lights within a scene or photograph. The sensor within a camera cannot handle such a wide dynamic range as the human eye can and this can lead to parts of photographs coming out under or over exposed although they did not appear so to your eye.
If you want to test this, stand in a room on a sunny day a look out the window. (Warning: make sure the sun is not shining directly in the window as you can damage your eyes.) You should be able to see all parts of the scene, in your room and outdoors, without any area being excessively light or dark. Now pick up you camera and take a photo of the scene you have just been looking at. Depeding on how the camera is metering the light, you will end up with either the outdoor part of the photo being too light and overexposed or the indoor part underexposed and too dark, or both. You can fiddle around with the camera's exposure as much as you like but you will still not make it capture the scene as your eye sees it. Not many people realise this dynamic range problem exists and end up frustrated when their photos don't look as they expected.
HDR is a photographic technique that attempts to overcome this issue by expanding the dynamic range of a photo. It is usually used for scenes that have a wide range of darks to lights but can be used for any scene.
How is it done?
HDR works by combining multiple exposures of the same scene into one image. It can be done with one photograph (I will discuss how to do that later) but most commonly it is done using upwards of 3 photos of the same scene taken at different exposures. The photographer takes a number of shots of the same scene ranging from underexposed to overexposed and then uses software to merge these photos together. The software tries to fuse these multiple exposures together to produce an image with a balanced exposure.
Sounds straightforward! In theory it is but in practise it is not quite as easy as you might think and the results often range from surreal to downright terrible.
First off, before we discuss the merging process, I talk a bit about the capture process.
Multiple Exposures and Exposure Bracketing
To get the snaps you need for pumping into the software, you will have to take a number of shots of the scene at different exposures. The easiest way to do this is to use the exposure bracketing function on your camera (if it has this option) This option allows you take multiple shots at different exposure intervals with one click of the button. The bracketing interval for HDR is usually set between 1 and 2 stops depending on the scene. A wider range is better for scenes with more extremes of light and dark.
If your camera doesn't have exposure bracketing then you will have to set the different exposures manually and take each shot individually.
What you are looking for at the end is a series of photos which captures the full dynamic range of the scene.
A quick tip. It is best to use a tripod and a remote shutter release for this so there is no movement of the scene captured. Although most dedicated HDR software will try and align the images for you this does not always produce super sharp images and can result in degradation of the final image's quality.
Here are three bracketed exposures of a scene below. The three images have the full dynamic range of the scene included.
 |
| Midtone Image. The sky is slightly over exposed and the rest of the scene slightly underexposed. |
 |
| Overexposed Image - 2 stops lighter . The boat and surroundings are correctly exposed but the sky is very overexposed |
 |
| Underexposed Image - 2 stops darker. The sun is correctly exposed in this image but the rest is very underexposed |
Merging
Once you have your photos it is time to merge them together. This requires software of some sort but there are different ways you can do this.
In camera
If your camera has an HDR option it will the merge the photos together immediately after they are taken. I wouldn't advise using this option as there is very little control over how the photos are combined and the results can be disappointing.
Dedicated HDR Software
There are many dedicated software packages out there specifically for merging the photos to HDR such as Photomatix and image processing software such as Photoshop also has an option to do it. This is probably the best option to choose as you get a huge amount of options and flexibility as to how the photos are combined allowing you to craft the finished image to your liking. Moreover, it is a very quick and powerful way of producing HDR images.
Merging Images Manually
Using a raster graphics editor such as Photoshop or GIMP, which allows you to work with multiple layers, you can manually combine the images. By importing the different exposures as separate layers and manually overlaying into one image you can make an HDR image. This technique can give a huge amount of control over how the final image looks but can be very, very time consuming and fidgety.
 |
| The 3 images above merged into an HDR image using the Merge to HDR function in Photoshop. The whole scene is now correctly exposed with no large over or under exposed areas. |
From the Sublime to the Ridiculous
Depending on what software you use and how you tweak the settings you can get a range of different images from the same bunch of initial shots.
Below are three bracketed exposures of a scene:
 |
| Midtone Image. |
 |
| Overexposed Image - 2 1/3 stops lighter |
 |
| Underexposed Image - 2 1/3 stops darker |
Below are various HDR images derived from the three initial shots. I used Photomatix to render all these HDR images and just played around with the settings to get a stronger effect. Which one is better is just a matter of personal preference.
 |
| Very subtle use of HDR. Very little difference from the original midtone capture other than the foreground is lighter and more realistically exposed. |
 |
| Cranking it up. The sky is now darkened and more contrasty whilst the foreground is still well exposed. |
 |
| Knock it up a notch. The sky darker still with even greater contrast. The background trees are darkened and the foreground is correctly exposed albeit with greater contrast. This is the final image I liked best. |
 |
| Overdrive. Sky is darker still and the foreground lighter but with extreme contrast across the whole image. Also notice the phenomenon known as Edge Glow appearing where lights and darks juxtapose, such as the large tree. |
HDR using 1 photograph
You can get the HDR effect using a single photo. By taking a single photo and producing multiple copies of it at different exposures using software such as Lightroom, you can get the multiple photos needed to pump into the HDR software. Although this works I wouldn't use it as a substitute for taking individual captures of the scene for a number of reasons
- You can get a lot of noise when increasing the exposures.
- If the image has blown out highlights or completely underexposed areas, the detail from these cannot be recovered.
- You have to convert to JPEG before putting the images into the HDR software resulting in a loss of quality.
Below is the initial capture. The trees are underexposed and the sky and water is correctly exposed.
 |
| The initial shot |
Here are the other exposures I created using Lightroom.
 |
| 1 stop darker using Lightroom |
 |
| 2 stops darker |
 |
| 1 stop lighter |
 |
| 2 stops lighter |
And below is the final HDR image created using the 5 images above in Photomatix. I have really cranked up the HDR effect to show how the detail in the darkened areas has been brought out whilst still keeping a good exposure level in the sky and water.
 |
| The Final Image. A bit surreal I know but it illustrates the effect which can be achieved from a single image. |
Don't Stop With HDR Software
One final point to mention. Although the HDR software can have a lot of options to control how the images are fused together, often the result might not be quite what you are wanting. But don't fear, there is other software out there that can perform the final touches. There is no reason to stop your image processing with the HDR software. After you get something close to what you want, fire the image into Lightroom or something similar and use that to perform the final tweaks. These software packages give you more power and control over the image than the HDR software does. So instead of expecting your final product to come from the HDR software (as I used to), just see it as another step along the way to creating a great image.
 |
| The above image further processed in Lightroom. The trees have been darkened slightly and the colour saturation in them reduced. In addition, the overall contrast has been increased, more so in the sky. |
Conclusion
Depending on the software you are using you can get a wide variety of different results from the same set of photos and how you tailor the final image is a matter of personal preference. Personally, I prefer the effect to be quite subtle to try and mirror how it would appear to the human eye, but many prefer a more exaggerated, surrealistic look.
Don't be put off if you don't get the desired outcome. HDR merging can be a bit of a hit or miss process. Sometimes the images come out great, other times they look awful. Learning to get a good range of exposures and understanding the controls in the software will help but will by no means guarantee a good result everytime. Just keeping plugging away with it and the good images will come.
And that's about it really. This was just a basic introduction to HDR photography. It can get very complex working out the correct exposures to take and how the different merging options in the software work but that is for a later date.
My advice is to have a go. Get out there and take some multiple exposures of a scene, fire them into the software and have a play around. You might be surprised at the results.
No comments:
Post a Comment